overlays: {bottom: true}
Showing posts with label crafts. Show all posts

Friday, 10 May 2024

DIY Dala Horse Piñata

If you've been here a while you'll probably know that my kids have a habit of choosing strange themes for their birthday parties. We've had a potato party, a Nutella party, a metal detector and penny finding party... 

Well, the latest birthday party hasn't been any different!

This past weekend we celebrated Mathilde's 10th birthday with an Ikea themed party. Yep, she chose everyone's favorite Swedish flat pack furniture store as her party theme!

I've got to say, it was actually a pretty fun theme. The guests all wore Ikea bucket hats (Mathilde's signature look lately), we gave out mini Ikea bags with small Ikea goodies in them as party bags, we played pass-the-parcel with a classic Blåhaj shark plushie as the prize in the middle, we ate Swedish cookies and meatballs, and we finished the party with a (rather shoddy looking!) Ikea bucket hat cake. 

My favorite party activity, however, was the piñata! To go along with the Swedish theme, I made Mathilde a Dala horse pinata. Now, it may look a little complicated in the pictures but, it was seriously one of the easiest piñatas to make ever. You want to know the secret? It's really just a store bought donkey piñata!


Today I'm sharing my simple DIY for taking a store bought donkey piñata and turning it into a Swedish Dala horse piñata. How fun is that?

Friday, 17 February 2023

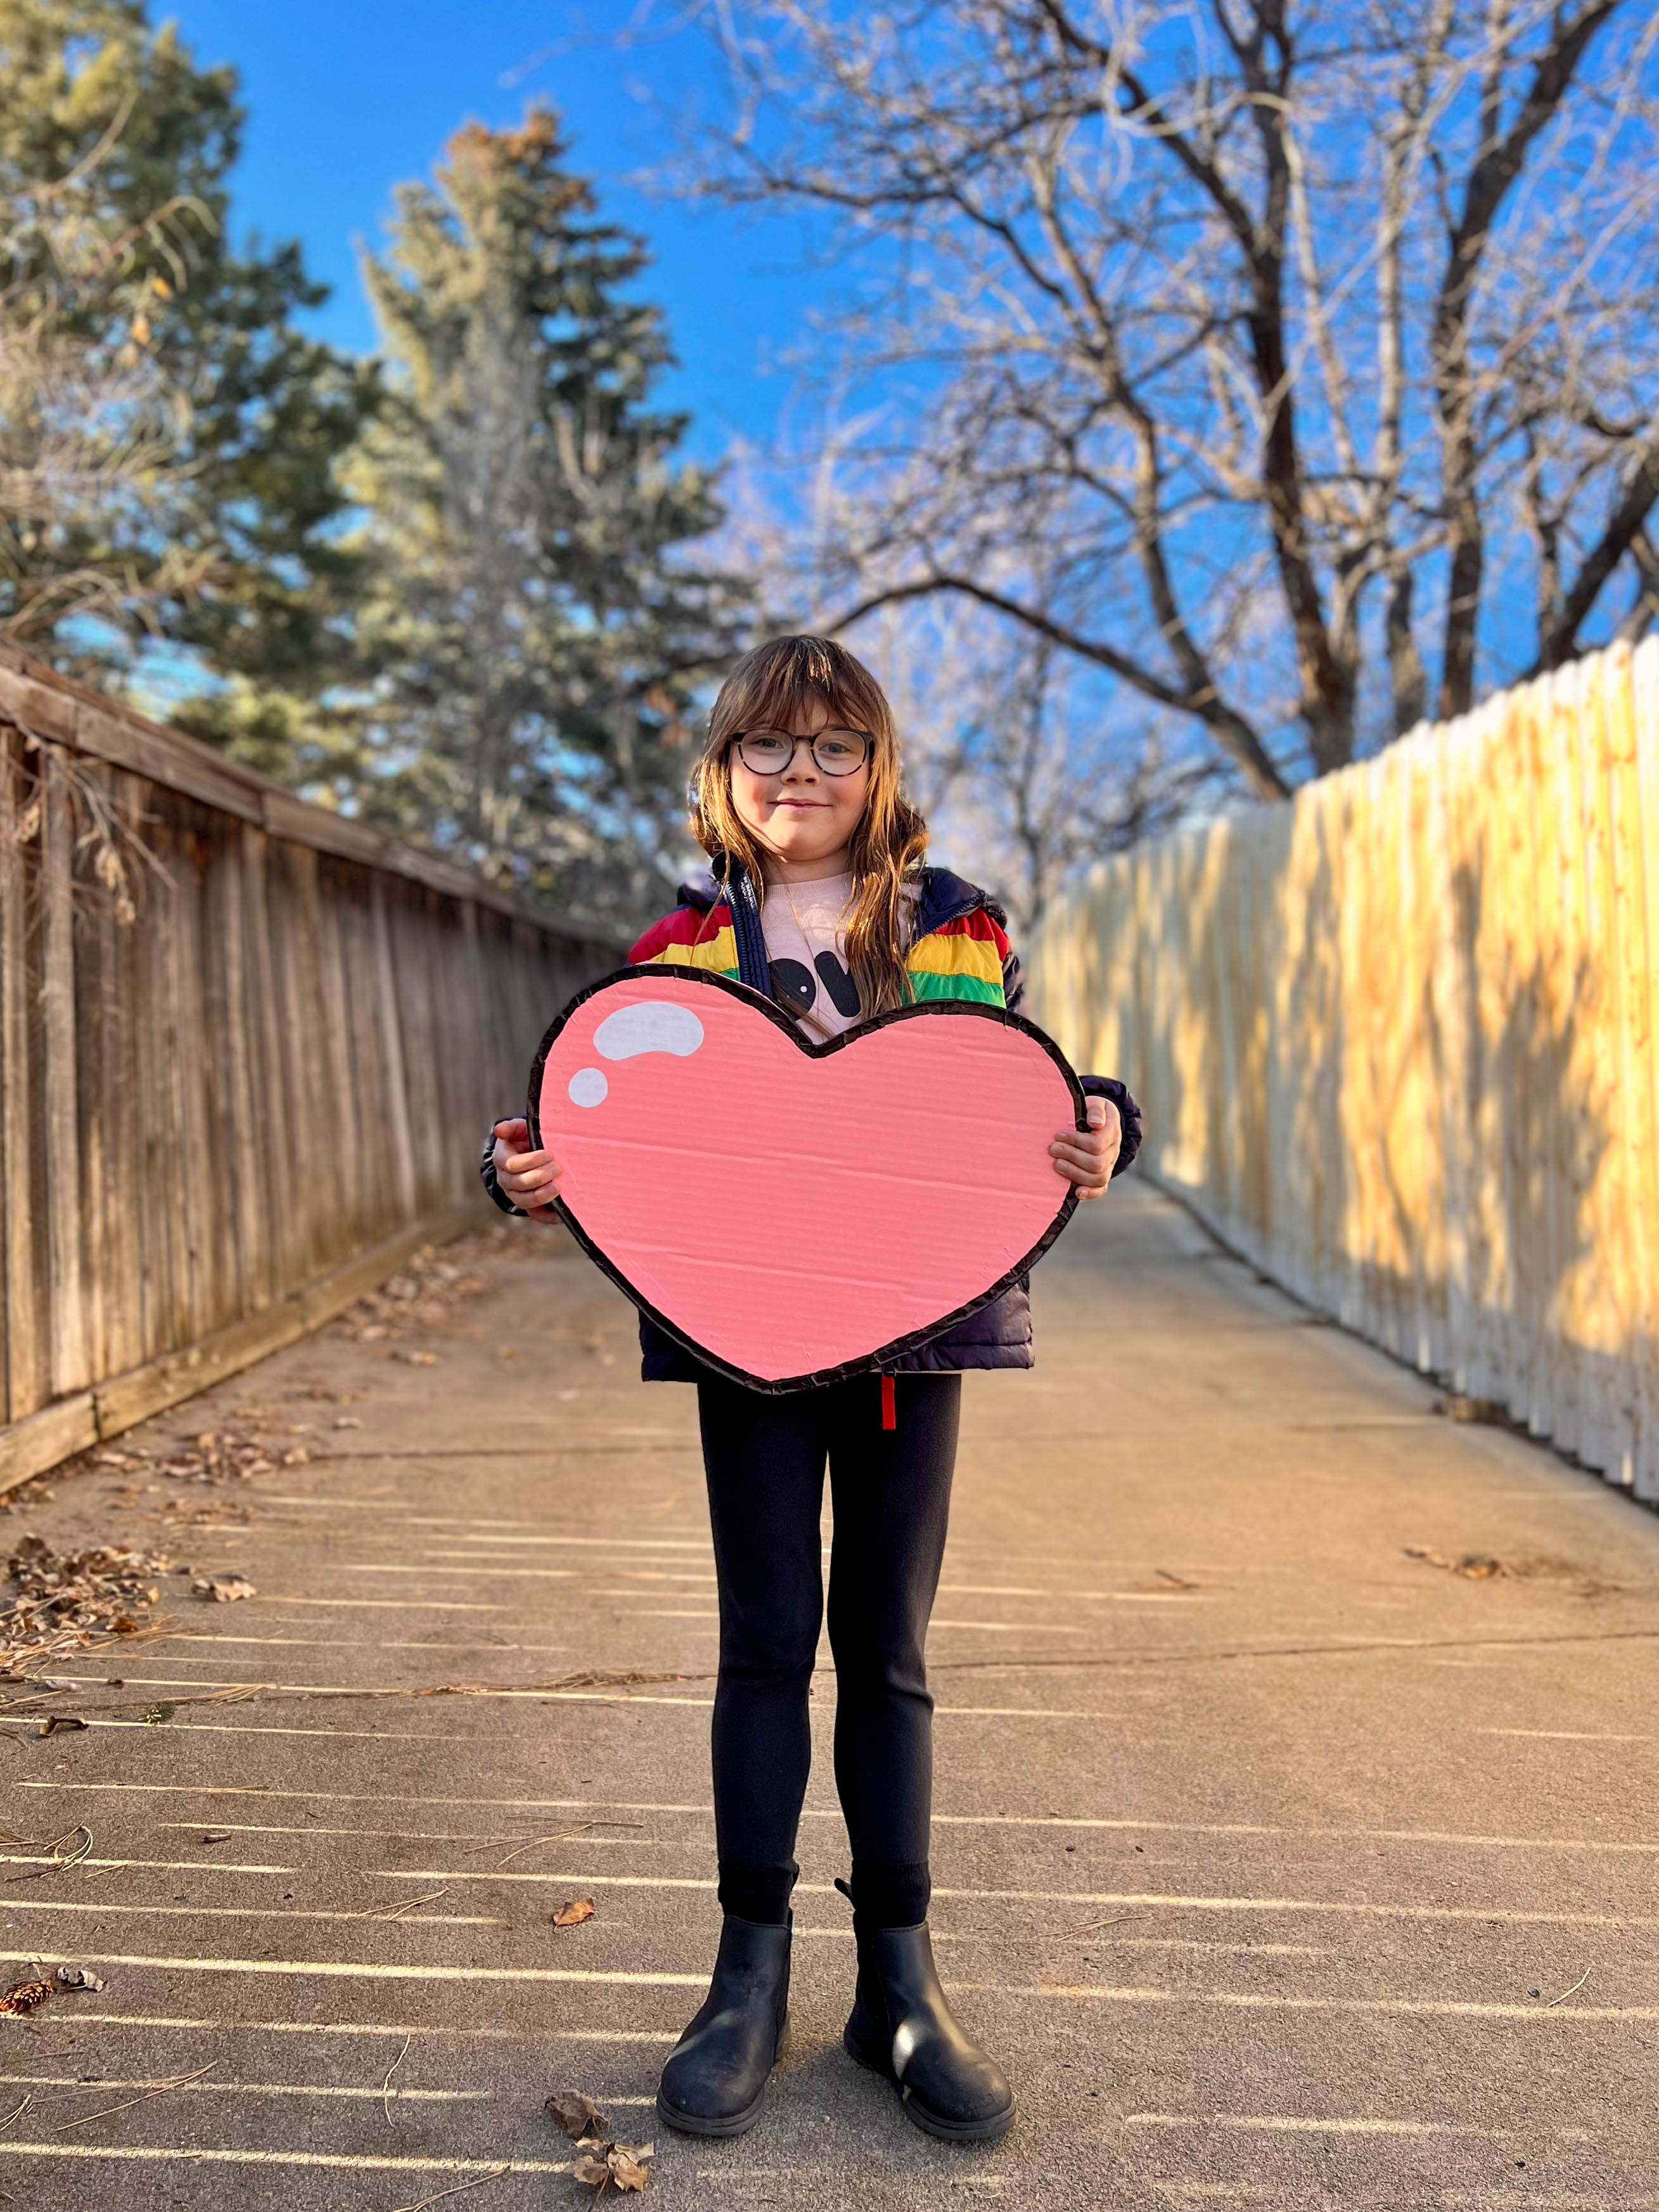
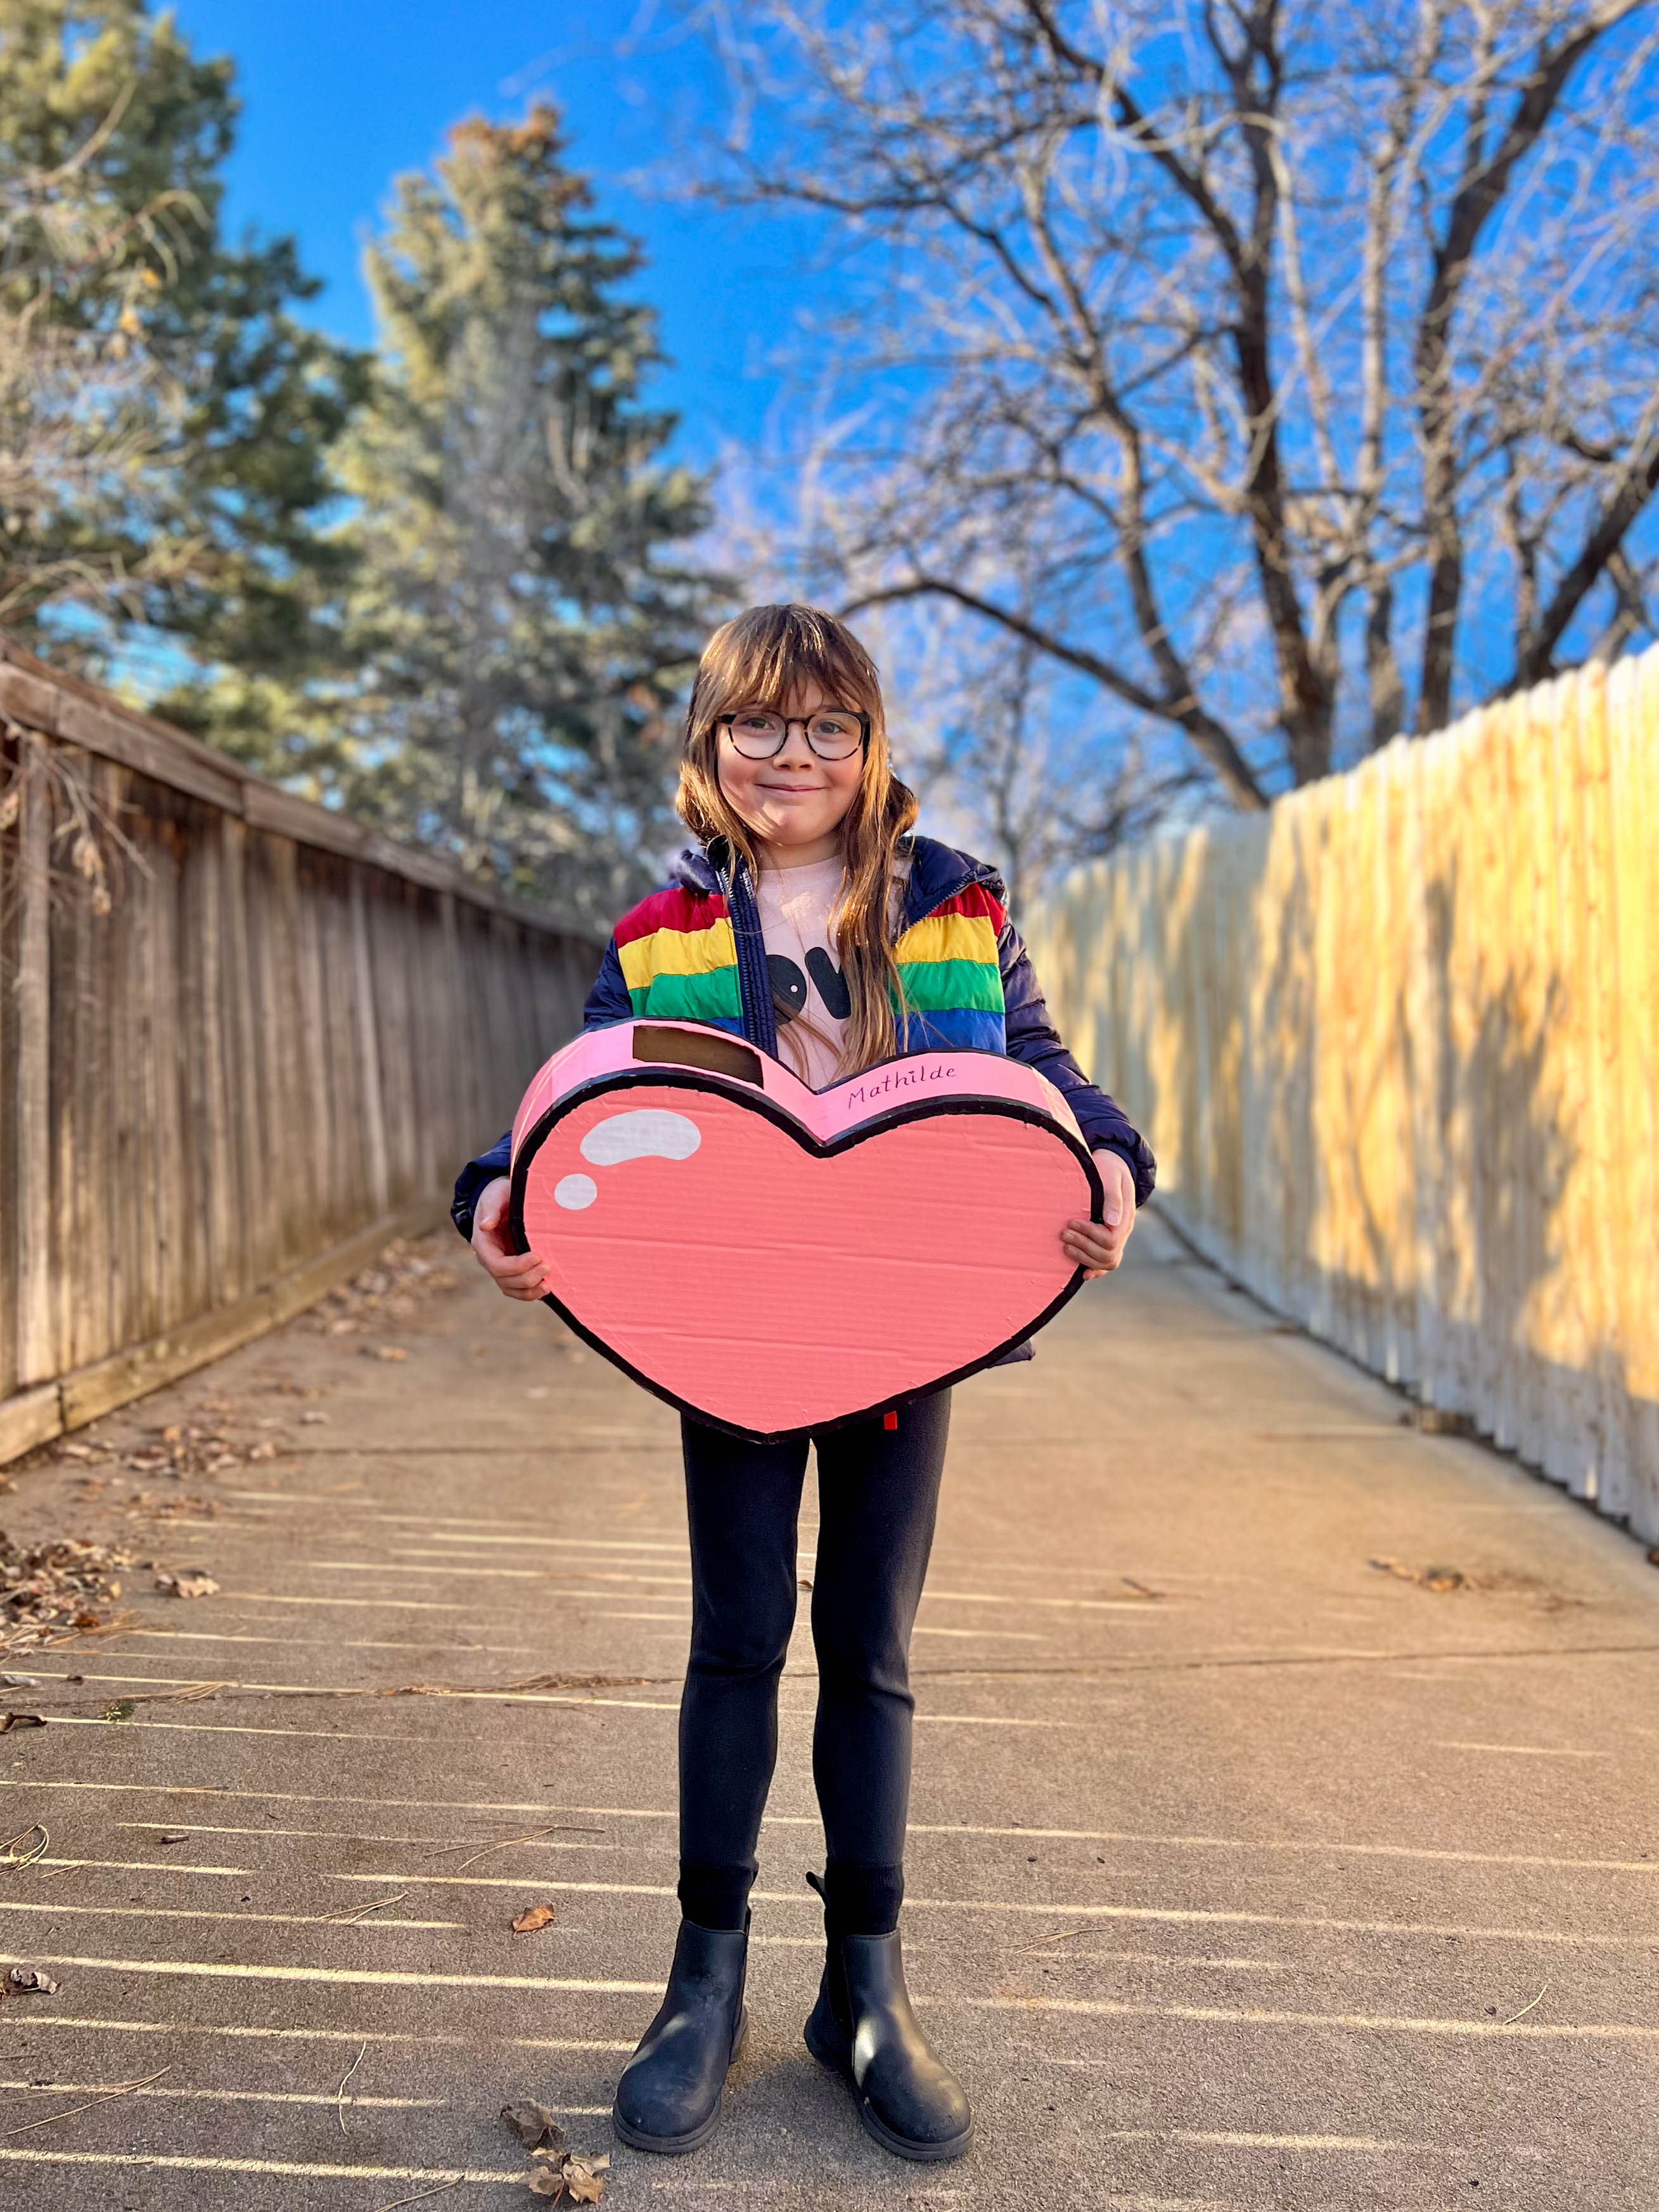
Cartoon Heart Valentines Box DIY

Ok, so Valentine's Day is over for another year and I'm a little behind with posting this DIY, but rather than think of it as being late, let's call this post inspiration for next year, shall we?

This Valentine's Day I'm down to just one kid celebrating with their class. That means less work for me, but it was also quite the downer knowing that my years of helping the kids with creative projects is coming to an end. Only three more years of class Valentines left. 

This year we kept the valentines themselves quite simple. Mathilde handed out packs of Pocky with a simple label saying "Valentine, let's stick together". Get it? Pocky sticks? You can find the template for the labels here. We did put a bit more effort into the Valentines Box though.

Mathilde has been quite enamored with the cartoon style cakes that have been all over social media lately. You know the type - they're brightly colored with black outlines that give the impression of a two dimensional cartoon when view from certain angles. Luckily she wanted her Valentines box to look like a two dimensional cartoon rather than a cake - which would've been much more time consuming to create. Ooh... a cake Valentines box would be pretty cool though, right?

Monday, 6 February 2023

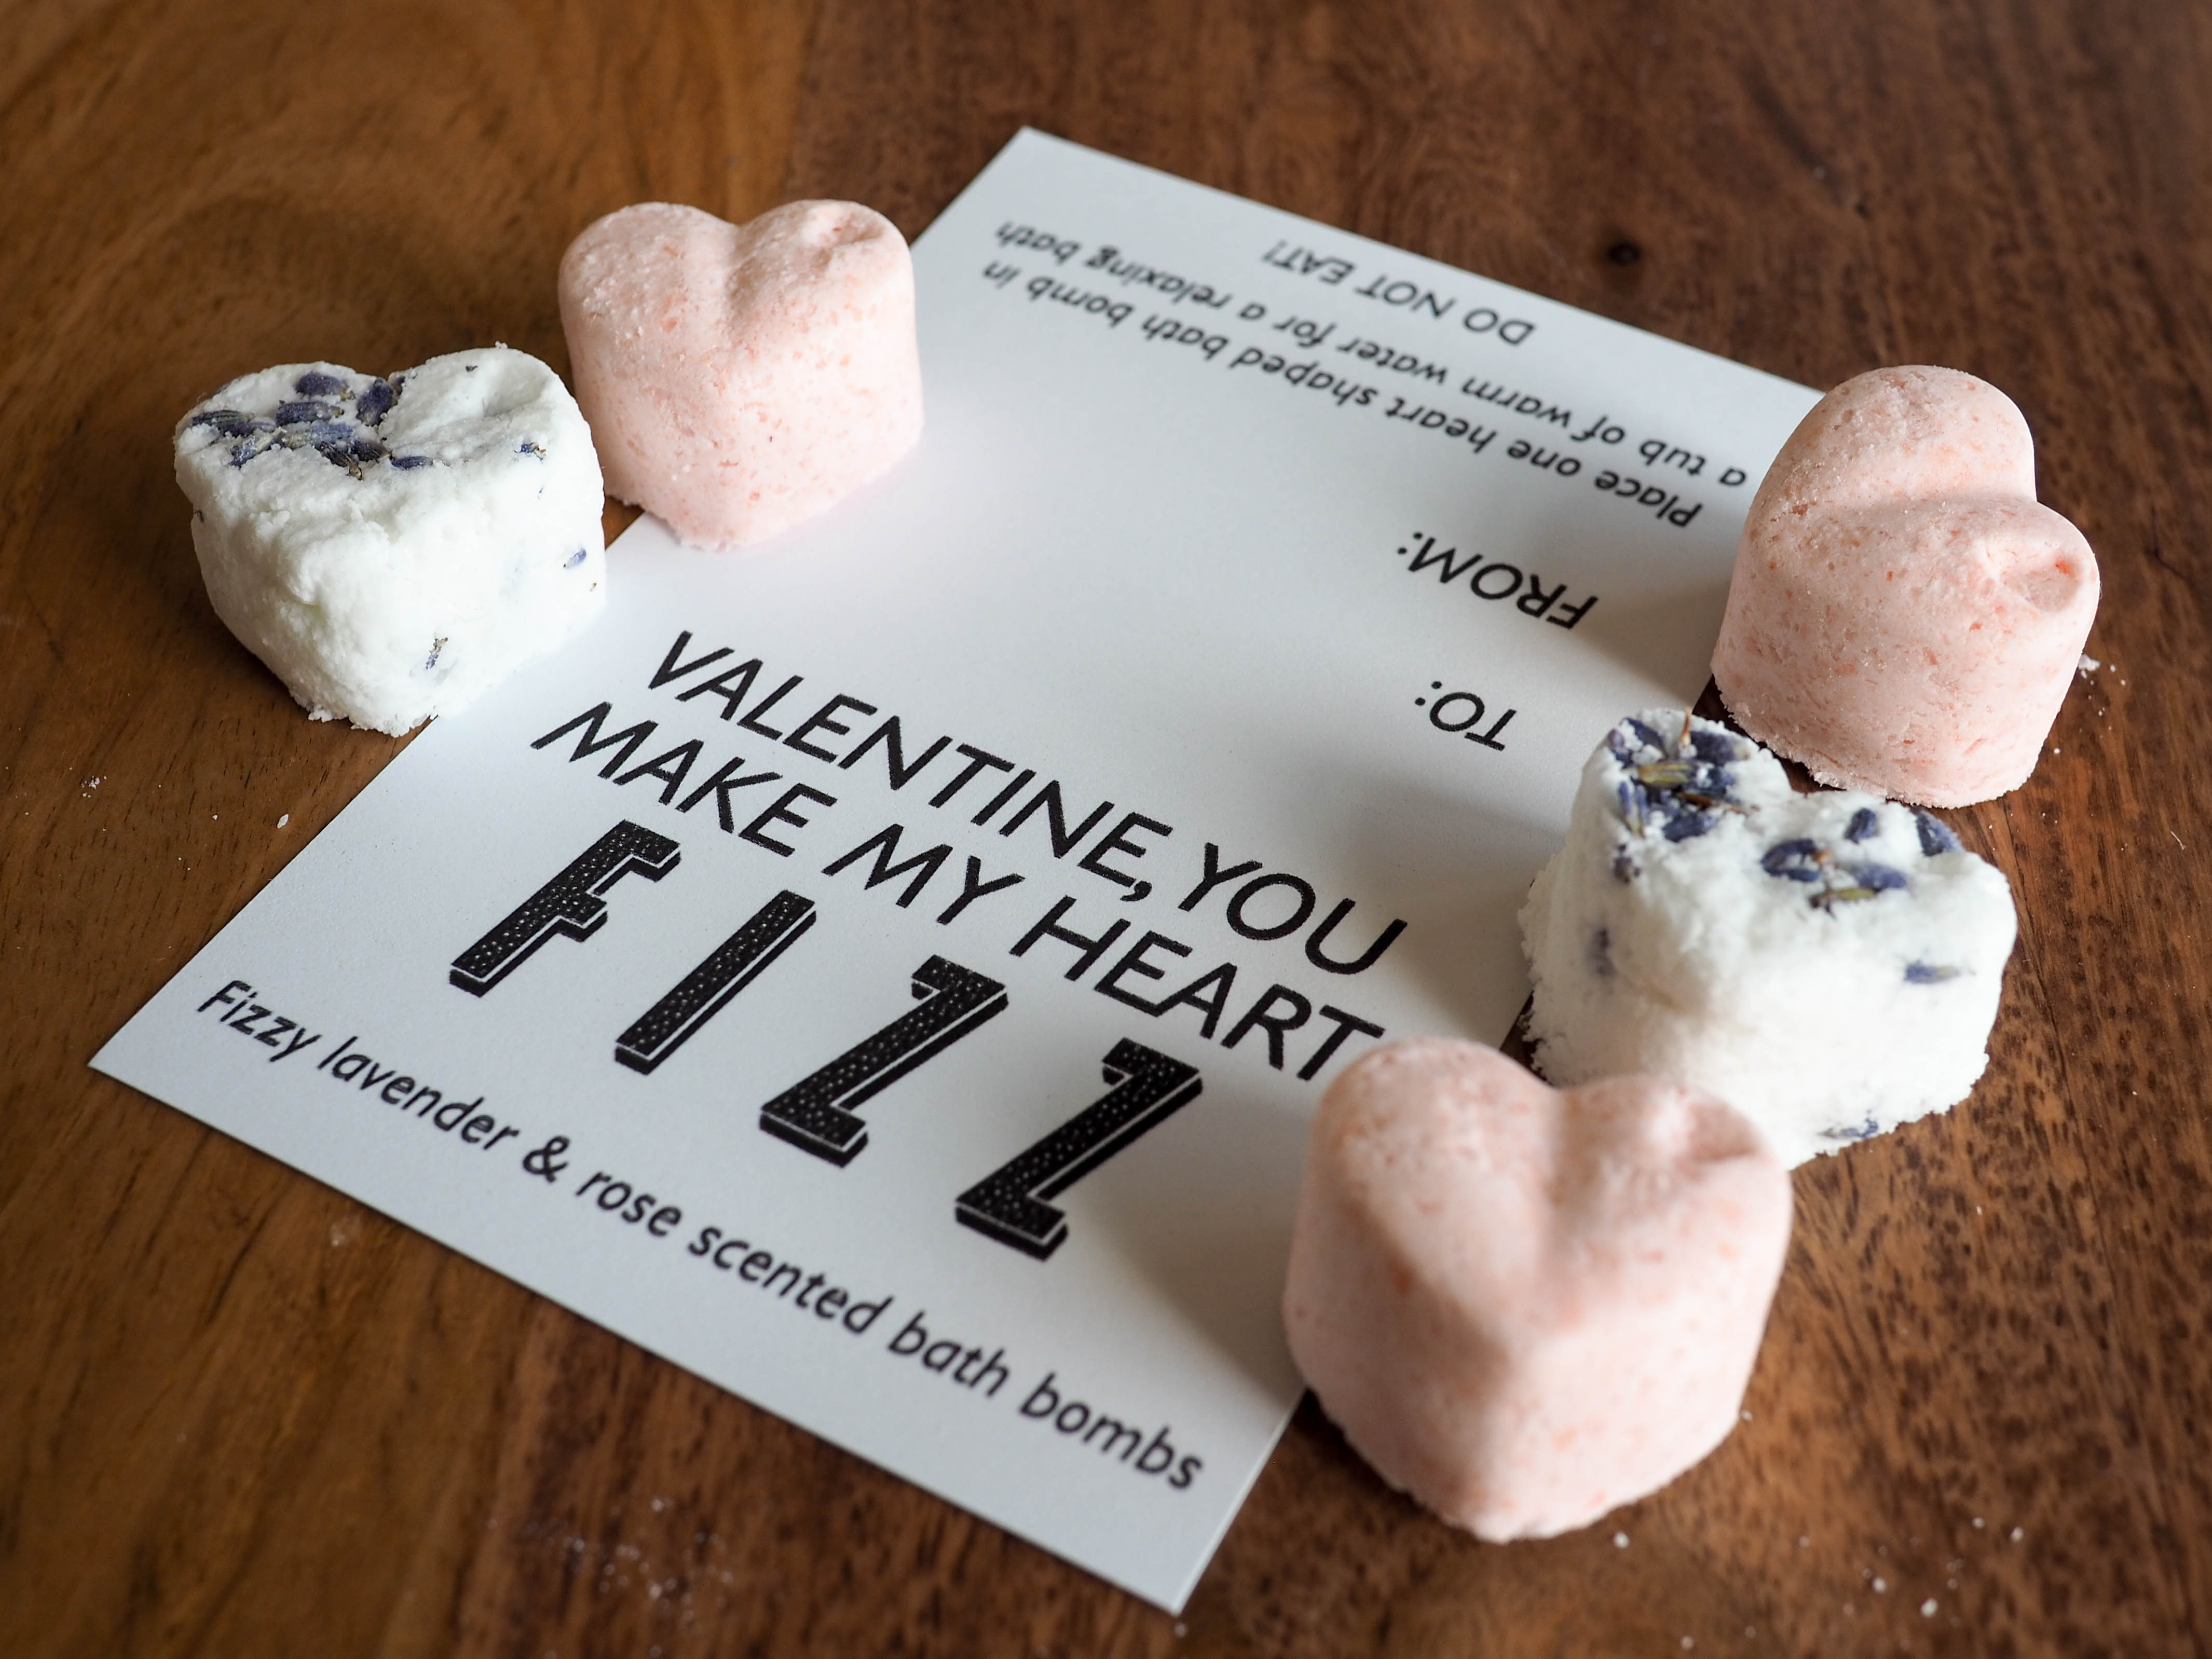
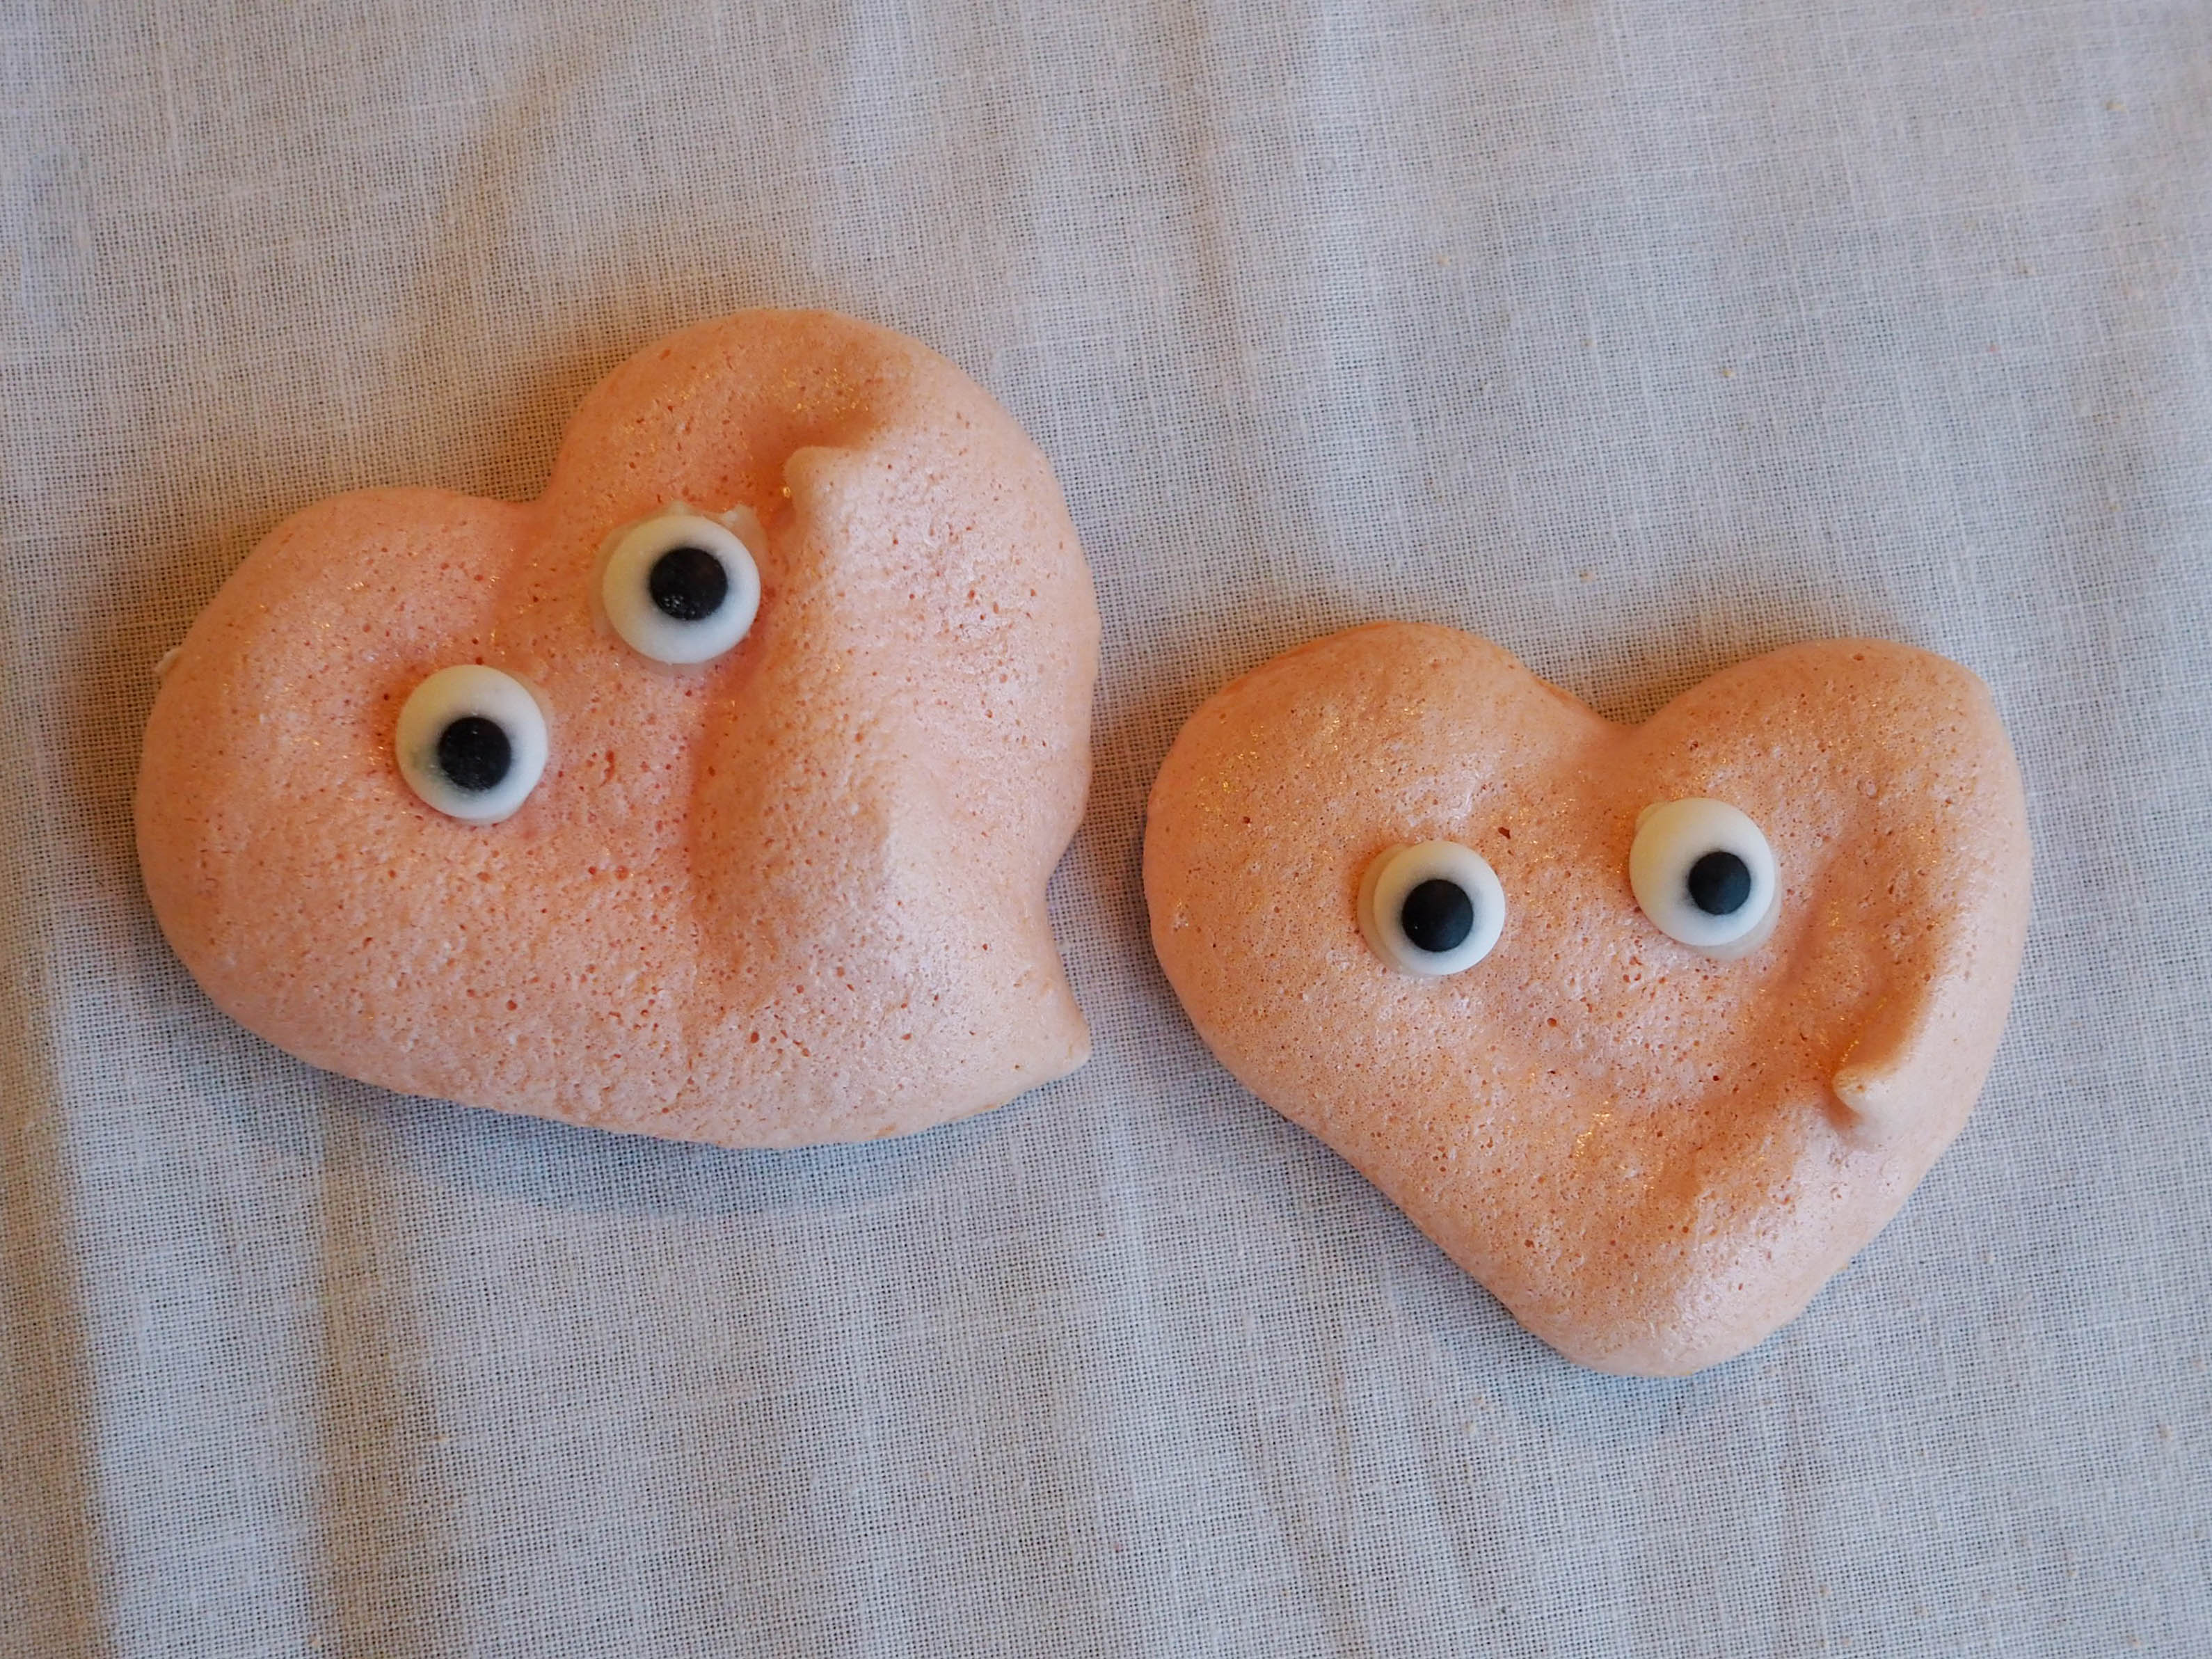
Valentine's Day Round Up

Valentine's Day is almost here again!

While I'm not really a fan of lovey-dovey mooshy things, I am a fan of any holiday or event that gives me a chance to get creative, and Valentine's Day is one such day!

Now that Lola has moved up to middle school, I'm down to just one kid celebrating Valentine's Day with their class. Only three more years worth of making Valentine's boxes and goodies for classmates. 

I'm looking forward to getting creative with Mathilde and can't wait to show you what we create, but in the meantime, I'm sharing a look back at all the different things we'd made for Valentine's Day in the past...


Thursday, 6 May 2021

Beehive Piñata DIY

For Mathilde's recent bee themed birthday party I made a beehive piñata. If you've been here a while you'll know that making piñatas is one of my favorite things. I find the repetitive work very relaxing and I love that it gives me a creative outlet. 

Most piñatas that I make for the girls are made from cardboard. This type of piñata is super easy to make and I can usually get one made in just a few hours - which is great because I'm totally a last minute crafter! For Mathilde's beehive piñata, however, I went with a good old balloon and papier-mâché style. These are also easy to make but are much more time consuming. The crafting itself doesn't take all that long, but the drying time between each layer means that I need to allow at least three days for the whole project.

I've shared a simple papier-mâché piñata DIY here in the past (you can see it here) but it was a decade ago so I figured it was time for an updated DIY with better photos!
 

Here's how to make your own papier-mâché piñata...

Wednesday, 7 April 2021

Shaving Cream Easter Eggs

One last Easter post before the season is over...

Did you dye Easter eggs this year? We usually go with the traditional dipping eggs into dye technique, but this year we decided to try something different that I had seen online. This year we colored our eggs with shaving cream!

Ok, so the shaving cream itself didn't color the eggs itself, but it did work as a handy carrier for the food coloring that we used. And it was fun to use! 

Now, I will be the first to admit that our eggs didn't come out quite as expected, but it was still such a fun activity that I wanted to share it here with you anyway. When it comes to art and creativity, sometimes the process is just as important as the outcome, and that's especially true when the process is fun! This sure was a fun, and rather messy, process! The messy processes are always the best ones, right? 


The girls had a blast decorating their eggs, and while I'm sure they would've loved to have seen the marbled patterns from the shaving cream appear exactly the same on their eggs, they were still perfectly happy with how they turned out. I've since learned a few tips and tricks that we'll try out next time, so expect to see us getting messy with shaving cream and food dye again next Easter!


Ok, let's take a look at how to make shaving cream eggs...

Thursday, 1 April 2021

Easter Peeps Bunny Wreath DIY

It's almost Easter!

How did that sneak up so quickly? Are you ready for it?

If decorating is on your list of things to do I've got a quick and easy DIY for you today. It's an Easter wreath made out of Peeps bunnies. But you probably guessed that from the title of this post and the pics, right?

Now, I've got to say that I'm not much of a Peeps fan when it comes to eating them (they're far too sugary for even this sweet tooth) but I do think that the bunny shaped Peeps are super adorable. I mean, just look at them! Aren't they cute? So, because they're cute but I don't like eating them I like to get crafty with them! In the past I've made Peeps bunting for both Easter and Halloween (you can see them here and here) and I've made Peeps Pikachu pops for Pokemon themed birthday parties (which you can see here). Ok, that last one was for eating. 

Today I'm adding to my Peeps crafting repertoire with a wreath. It's super easy, uses only a few materials and it takes no time at all to make. I knocked mine up in maybe half an hour, and that was including taking photos for this post. 

Friday, 12 February 2021

Worm Hugs for Valentine's Day

 Are your kids celebrating Valentine's Day with their classes this year? 

I know it's all a little different this year with so many kids doing home learning. We're lucky that our schools have opened back up again and the kids have been back in person part time since January. With the kids back in school that means we were able to hand out valentines to classmates just like every other year. There were no class parties and no yummy treats to share, but I'm so happy the kids got to take part in something they look forward to every year.

Usually we'd give out some sort of home made treat, but with the pandemic I wanted to avoid giving out food. So this year we went with worms on a string. Not sure what worms on a string are? They're neon colored fluffy "worms" attached to a piece of clear string. Sometimes sold as party favors; sometimes sold as cat toys! They look absolutely nothing like a worm (as you'll see in the pics), but they are pretty cute. I'm not generally a fan of giving out little plasticky, throw away toys, but I figured they were a safe bet plus the kids had been asking for some for themselves to play with at home. Lola and Mathilde had their class parties on Thursday and apparently the worms were a hit.

With the worms ready made, there wasn't an awful lot of DIY for these valentines, but I did design a cute label for the packaging, complete with a cheesy saying. Actually, we came up with two cheesy sayings for our worm valentines, so Lola went with one and Mathilde with the other. I know you're dying to hear what the sayings were, so here they are. Lola went with "You've wormed your way into my heart", which some of the kids found a little creepy! Creepy's good, right? Mathilde went with "worm hugs", which no one found creepy, because it's not creepy. That said, if a giant worm gave me a hug I probably would be a little creeped out!

Ok, enough talk, let's see those valentines...


There aren't really too many steps for this one. Download the label template from the links above and print the number you need onto sticker/label paper. There are 6 labels per page. Use a rotary circle cutter or a pair of curved scissors to cut out the labels and write the names on each one. Curl up the worms and place each one into a cello bag. Fold the cello bag over and seal with a label. Voila! 


If you don't have any sticker paper you can always print onto regular paper instead and attached the label to the cello bag with a glue stick. If you go down this route you'll want to tape the cello bag closed first to make sure it stays in place while the glue dries. 


Now all that's left to do is hand those wiggly little suckers out to classmates or friends!


Don't they look cute?

Stay tuned for a DIY for our Minecraft and mail box themed Valentine boxes above!

Friday, 8 January 2021

10 Years of Little Hiccups

If you're following along on Instagram, you may have seen my post earlier this week sharing that it was my 10 year blogiversary. My 10 year anniversary of starting this little blog. A whole decade of Little Hiccups!

Some of you have been here since the start (ahem, thanks Mum) while others are more recent friends. No matter how long you've been following along, even if this is the first post of mine that you've read, I want to say thank you for being here. I truly appreciate it. 

Today I'm taking a look back through the archives (which you can find in side bar over on the right) and sharing some of my favorite posts from the past ten years. It's a pretty mixed bag as I can't bring myself to focus on just one thing. I have, however, narrowed it down to my favorite topics: travel, San Francisco Bay Area, events & exhibitions, parties, holidays, and crafts & DIYs. Ok, so that's not really all that narrowed down, but trust me, I've covered way more topics than that over the years!


Let's take a look at some posts...

Make sure to click the title above each photo to be taken to the post.

Thanks once again for being here!

Saturday, 24 October 2020

DIY Studio Ghibli Soot Sprites

Disclaimer: This post contains affiliate links. If you shop my links I will make a small commission but it won't cost you any more. 

Are you a fan of Studio Ghibli movies? We're big fans over here. We have a box set of Hayao Miyazaki movies and they get played on heavy rotation. 

My Neighbor Totoro and Spirited Away are two of the kids' favorite Studio Ghibli movies and one thing they have in common (apart from being great stories) is Soot Sprites. These cute little black balls of soot appear in both of these movies and the kids think they're absolutely adorable. 

So, for Halloween, or really any time of year, we decided to make our very own Soot Sprites. They're super easy to create with just a few materials and they look adorable. I'll have some Studio Ghibli inspired costumes on the blog in the next few days, and these little Soot Sprites made the perfect addition to the costumes. Lola and Mathilde are dressed as Satsuke and Mei from Totoro below. 

Now, the Soot Sprites in My Neighbor Totoro and Spirited Away are slightly different. Totoro's Soot Sprites hide in corners and in the shadows in groups. They scurry away together as if picked up by the wind. They don't have legs, arms or personalities. They're just balls of soot with eyes. In Spirited Away, however, the Soot Sprites have legs and sometimes arms, and they use these to carry coal for Kamaji, the six armed man who runs the boiler room of the bath house. So we made two different types of Soot Sprites, some with legs and some without. They're pretty much the same with just one pipe cleaner for the difference. 


Here's how we made our Studio Ghibli Soot Sprites...

Thursday, 16 July 2020

DIY Kawaii Plant Labels for the Veggie Patch

This is a sponsored post written by me on behalf of Cricut. All opinions are 100% mine.

One of the things I've been most excited about having our own house is being able to plant a veggie patch again.

You may remember that we had a plot in our local community garden when we lived in Berkeley, but as great as that was, there's nothing quite like having fresh veggies, herbs and fruit growing right outside your back door. Walking out the back door to pick herbs for a last minute addition to dinner is convenient. Walking to the park at night to do the same; not so much. So finally having our own garden space, in our yard, was a dream come true.

By the time we were settled into our new house last year it was too late in the season to start growing a veggie patch, so we had to wait until Spring rolled around to start our garden. And by Spring, I mean mid-May as it's not uncommon for it to snow here up until early May! While we waited for consistently warm days to arrive to get planting, I got to work building garden beds, filling them with soil, paving between the beds with pebbles and working on our compost bin.

I also got to work thinking about all the little finishing touches, like plant labels. Sure, I could've just stuck with the labels that came with each of my seedling plants, but why do that when you can make something cute? The kids LOVE everything Kawaii at the moment, so I had the idea of making cutesy Kawaii plant labels. Little fruits and veggies with happy little faces smiling up at me from the veggie patch. A little touch to make the veggie garden an even happier place.


Aren't they cute?

Making my kawaii plant labels was a breeze thanks to my handy little Cricut Joy. First I designed the various fruits and veggies in Photoshop (that was the hardest part) and then I cut them out on permanent Smart Vinyl with my Cricut Joy before sticking them onto bamboo plant labels. Easy peasy!

With no need for a cutting mat, Cricut Smart Vinyl is such an easy to use product for projects like this. No need to line it up perfectly on a cutting mat. Just load the Smart Vinyl into the Cricut Joy and you're done! The Smart Vinyl used here adheres permanently and is water proof making it perfect for use in the garden.

If you'd like to make your own kawaii plant labels follow the simple instructions below. I've made it even easier for you by sharing my designs on the Cricut Design Space, so you won't need to spend time designing them.

Tuesday, 28 April 2020

Mathilde's 6th Birthday

Last Friday Mathilde turned six. 

Given that we're all sheltering at home, a party with her classmates and friends was unfortunately out of the picture. But that didn't mean that there was no party at all. Originally I didn't think we'd do anything right now and save the party for over Summer when (fingers crossed) we can start seeing friends again. But a few days before her birthday Mathilde started talking about all the fun things she was looking forward to doing at her party. It occurred to me that there was no reason to cancel or postpone her party at all. Instead of celebrating with friends, we celebrated with just the five of us. 

Because we were busy with school at home on Friday we celebrated Mathilde's birthday with a small party on Saturday. It worked out quite well as Friday was rainy on and off, but Saturday had glorious weather.


Related Posts Plugin for WordPress, Blogger...